")
The past few winters (and springs!) have been atypically good for seeing Northern Lights in Denmark — but it’s not always so easy to capture the magic. We explain what causes aurora borealis (the technical name for Northern Lights) and offer tips for making the most of these exceptional light shows and getting decent pics with a camera or smartphone.
Skip to the TL;DR summary (too long; didn’t read).
What they are
Caused by storms on the Sun’s surface, Northern Lights arise from the interaction of electrically charged particles (known as ions) from the Sun and Earth’s atmospheric gases. Most of the ions the Sun emits are deflected, but some are captured by Earth’s magnetic field and travel towards the north and south poles (which explains why aurora activity is heightened towards magnetic north and south). The ions collide with gas atoms in the Earth’s atmosphere (mostly oxygen and nitrogen), heating them up in a process called ‘excitation.’ The ‘excited’ gas glows by generating light particles (known as photons).
Oxygen produces green aurora and nitrogen gives purple, blue, or pink. If the aurora is particularly energetic, solar particles interact with very high altitude oxygen and produce a scarlet red.
The intensity of storms on the Sun follows a roughly 11-year cycle, with the current solar maximum period peaking in late 2024/early 2025. The aurora might be less brilliant the further we get from the solar maximum, but 2026 and 2027 are still likely to bring good spotting seasons.
How to see them
Amazing auroras tend to be followed by more aurora activity 27 days later (the time it takes the Sun to rotate on its axis and bring solar storm activity back into view from Earth). Southern Denmark saw some excellent Northern Lights in week 4, so there may have been more in week 8 (the third week of February, when much of Denmark was blanketed by cloud) and there could be a good show during week 12 (the third week of March).
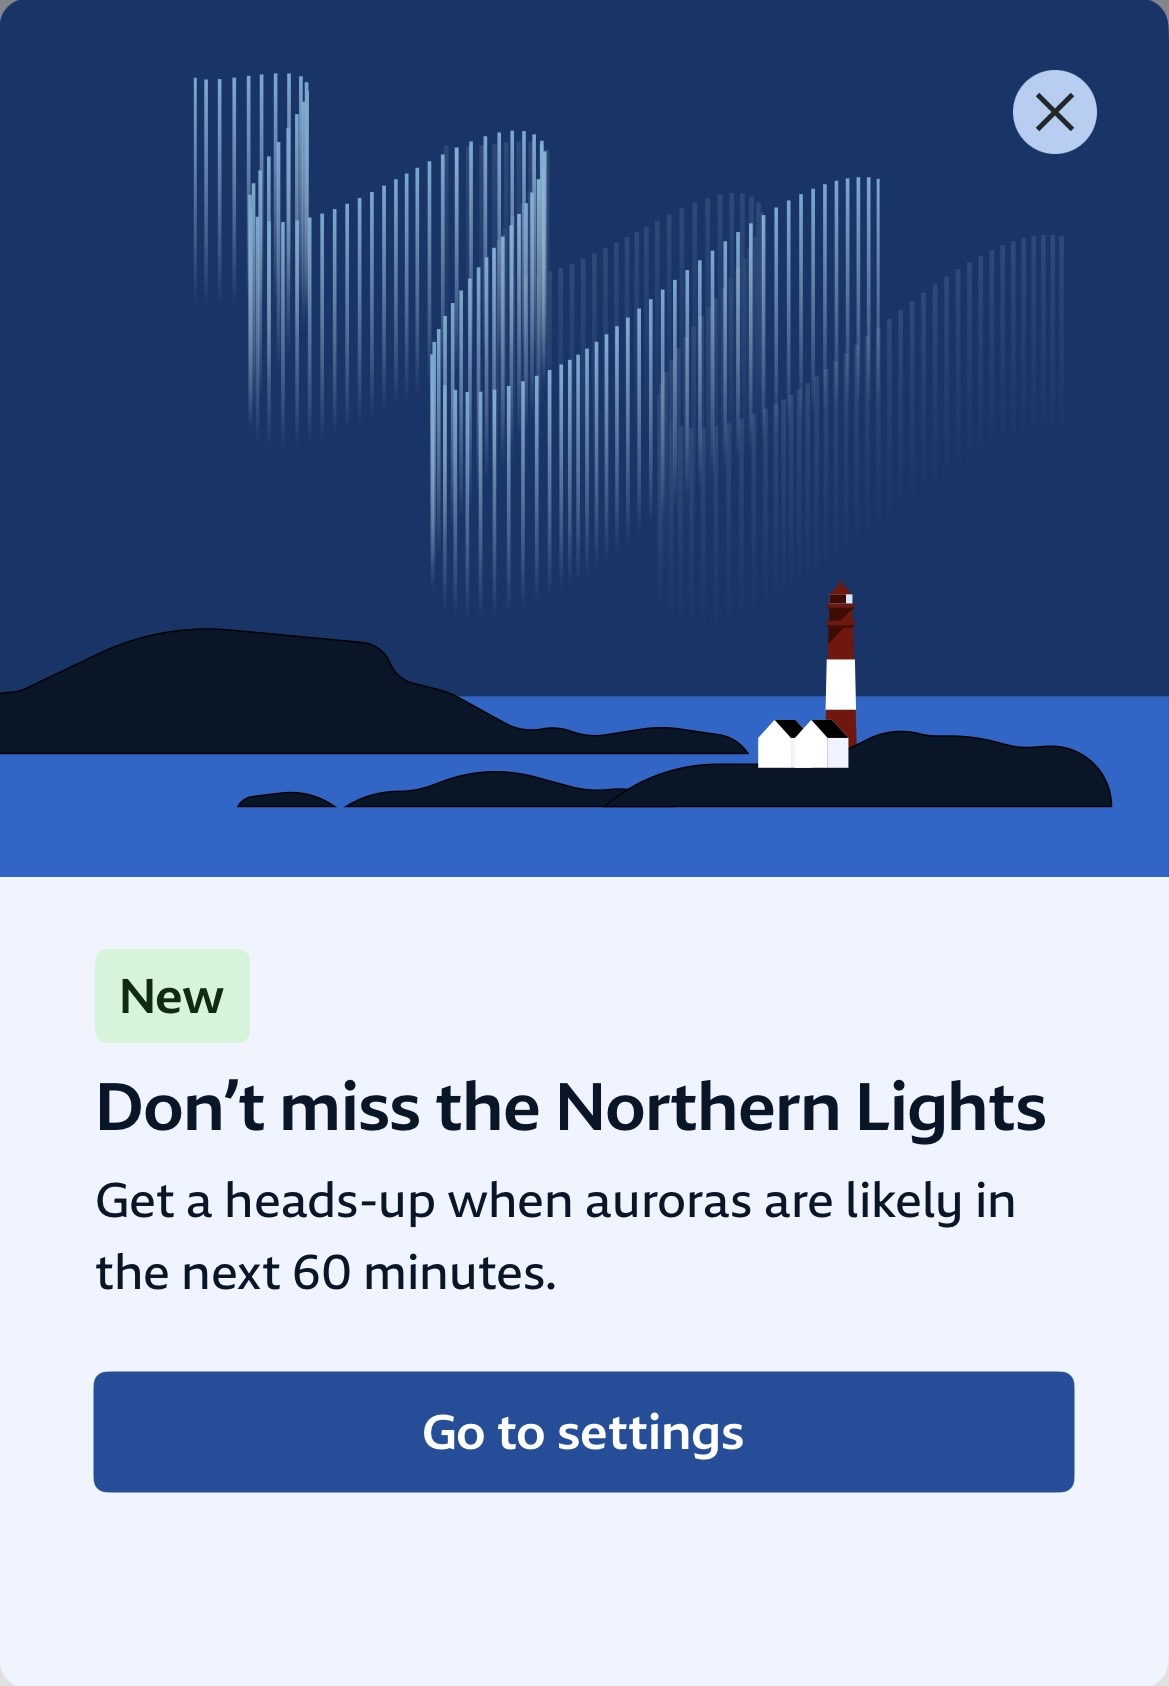
Image credit: Yr.no
Tools like Space Weather Live, Aurora Info, and Aurora – 30 Minute Forecast are useful for checking when solar wind is likely to hit Earth’s atmosphere, turning geomagnetic storms into brilliant displays of light. Norwegian/Danish weather app Yr recently introduced aurora alerts, offering a 3-day overview of the likelihood of dancing skies in your area.
Some tools also offer email notifications, although these can be troublesome given activity often peaks while we’re sleeping. A tip from professional photographer David Wilder: sign up for aurora notifications using a unique email alias. (The specifics of creating aliases vary by provider, but may be as easy as adding punctuation like with Gmail.) Then, configure your do not disturb settings to let through messages only for that alias, allowing reports of stellar light shows to wake you in the middle of the night without worrying about other messages that hit your inbox.
But, as David notes, “It doesn’t matter how good the aurora is, if you don’t have cooperating weather, you’re toast.” He regularly checks cloud cover, wind direction, and other weather information before heading on an aurora hunt. David says, “If I can’t see the sky, I don’t even get out of bed.”
Detailed forecasts from the Danish Meteorological Institute’s Weathermap, Windy.com, and Windy.app offer great insight into when the skies are likely to be clear. Low altitude cloud is nearly impossible to see aurora through, while high altitude cloud can be thin and wispy, providing an interesting dimension to night sky photos.
Of course, as this XKCD comic illustrates, auroras are unpredictable. Practise patience!
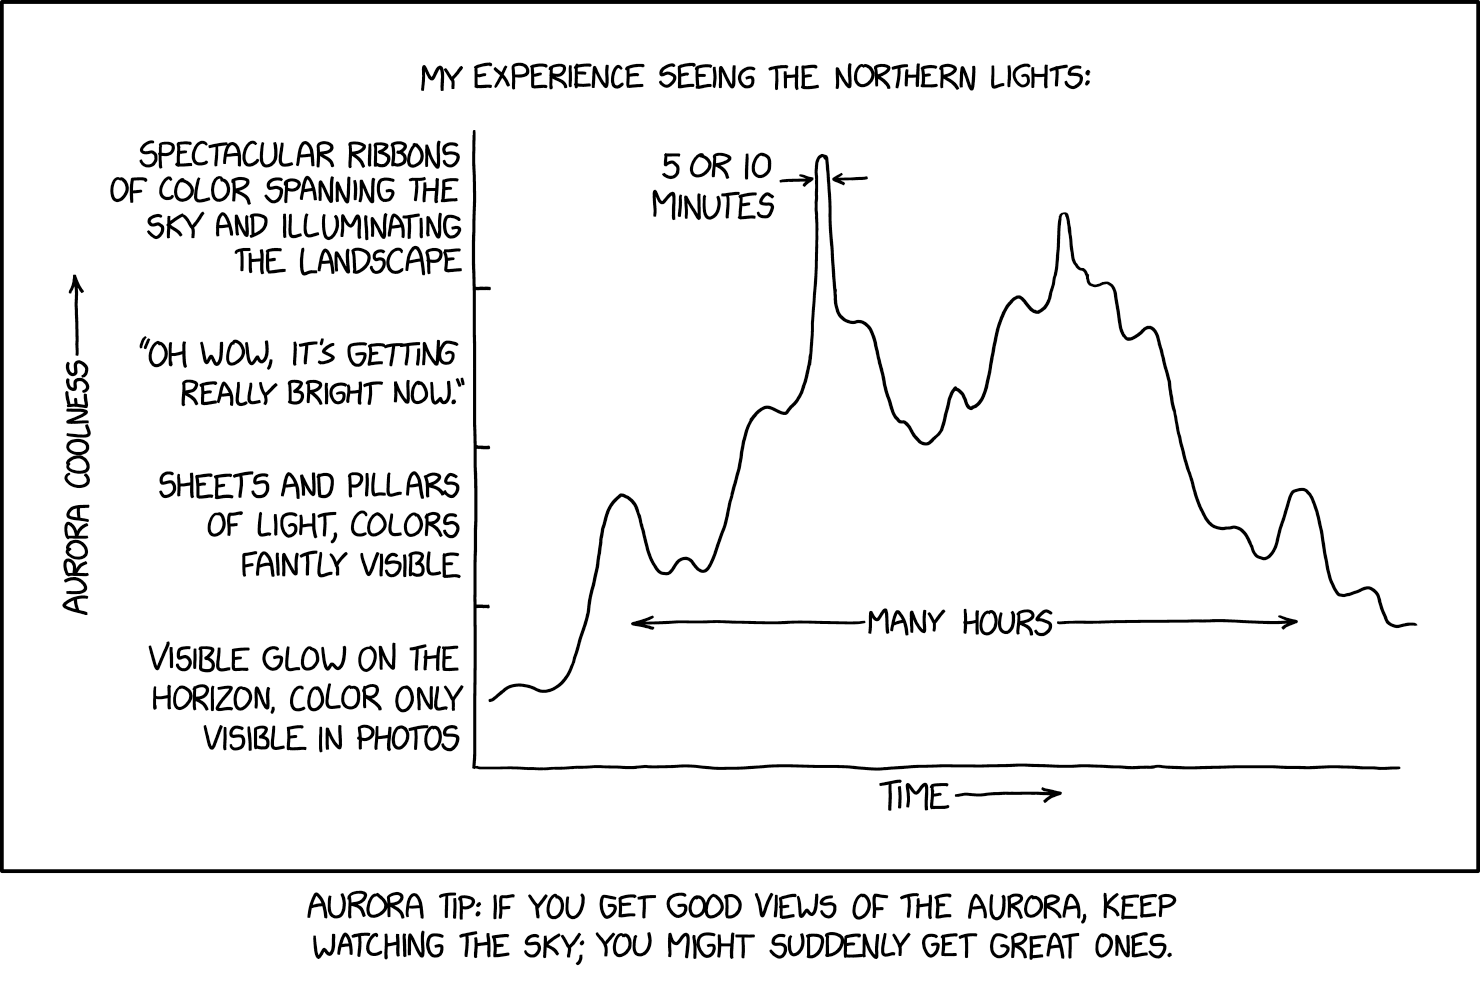
Image credit: xkcd.com
Finding a dark viewing spot is key, too. Copenhagen-based photographers Judith and Jonathan scored exceptional Northern Lights pics in February 2023 by heading towards Gilleleje. “Light pollution in cities is a lot. It’s often not possible to see them with the bare eye,” says Jonathan.
It takes your eyes several minutes to adjust to darkness, but just a glance to break the acclimatization. Turn down screens to the lowest possible brightness and do your best to keep your phone in your pocket. “Trust your own night vision,” says David.
Preparing for good pics
In addition to scoping out a low-light location (Denmark has some amazing dark sky parks, but even getting out of the city a bit will help), consider your shot composition.
“Having something in the foreground provides scale and makes the images come to life. It gives the sense of how big the aurora are,” David says. If you’re near the coast, water and rocks provide nice foreground focus. Or consider a tree, fence, building (ideally abandoned as they’re not lit up), car, or bike (anything that’s not moving) to showcase the impressiveness of the Northern Lights.
Changing your vantage point also helps. “We all see the world from about the same height,” David notes. “Lay on the ground, get higher. It makes the image more interesting.”
Whether you’re shooting with a smartphone or a fancy camera, the shutter stays open longer with night photography, making it important to keep your device stationary. A tripod is ideal, but, as Jonathan says, “Use anything you can get your hands on. Like resting your phone against a backpack.”
When it’s windy (the default in Denmark), David suggests removing the camera strap as it blows around, shaking the camera enough to cause blurriness.
A pro tip from Judith: whether you’re snapping pics with a smartphone or camera, become familiar with its settings beforehand. “Understand your device before you get outside in the cold and snow,” she says, underscoring the importance of getting a handle on the options while you’re not freezing — and reducing the chance of impairing your night vision as you bumble with a screen.
Withstand the cold
Having shot aurora in -30°, David understands how cold temperatures chew through batteries. His advice: keep extra batteries (and your camera or smartphone when you’re not using it) tucked into your jacket, or even in a vehicle. Turn off the camera as you set up shots or wait for another flash of brilliant skies.
Judith suggests bundling up as much as possible. “You don’t want to have to go home because you’re too cold,” she says.
Using a smartphone
While you won’t get the same results as with a camera, smartphones can shoot decent aurora photos.
First and foremost, turn off the flash. If your smartphone takes ‘live photos,’ disabling this generally increases sharpness. Check if you can set exposure length and extend the shutter speed. Jonathan says, “A phone’s automatic mode tries to keep everything sharp, which isn’t the point here.”
“See if there’s a night shooting mode, geared towards shooting in the dark. The phone takes over the settings and you just snap away,” suggests David.
For higher quality edits, some smartphones can output RAW (an uncompressed image file format with higher quality and greater control).
Don’t do video. Not only are there fewer customizations than with still images, shooting video constantly opens and closes the shutter to capture movement, which lets in less light.
David’s workaround for snagging dancing aurora: smartphones’ built-in screen recording function. Point your smartphone at the sky (having stabilized it, of course) and take a screen recording. This captures what the smartphone camera preview sees, with no shutter opening and closing. Once you’ve recorded the video, you just need to crop out the phone menu on the top and bottom.
The movement of the aurora borealis caught using a genius smartphone hack
Image credit: David Wilder
With a camera
A DSLR or mirrorless camera (here’s the difference) provides far more control than a smartphone — and larger resolution images. They can seem intimidating (and expensive!), but don’t worry about having the latest and greatest equipment. “It’s more important to figure out the process and iterate from there,” Jonathan says.
David Wilder explained the key camera settings to us, noting “these push and pull with each other” (a relationship known as the exposure triangle in photography):
- ISO controls how much light the camera lets in. High ISO increases light sensitivity, making it ideal for low-light situations, but it also increases ‘noise.’
- Aperture governs how much light reaches the lens. The larger the aperture, the more light gets through, but too wide compromises sharpness. When shooting aurora, the aperture will often be as wide as possible.
- Shutter speed dictates how long the light pours in, with low-light environments requiring longer exposures. But, the longer the shutter is open, the less crisp any movement becomes. A 10-second exposure is likely to blur too much to capture the texture of quick moving aurora.
David advises setting the ISO first: “Every camera’s going to work differently with ISO. Play around with your ISO and see what your maximum is. If you can go really high, your other settings don’t have to vary so much. Find the ISO threshold that you don’t want to exceed, and set shutter speed and aperture from there.”
As conditions change, be prepared to adjust. David related watching the skies in Iceland: “We could see this glowing green band above the Skógafoss Waterfall. It was almost pitch black; we couldn’t even see each other. The thin line turned into a big blob — and then it blew up.” With their cameras set for long-exposure timelapses, the group rushed to decrease the shutter speed to get the fast moving colors with more clarity.
Nearly all cameras (and some smartphones) have a timelapse mode, which works wonderfully for capturing lights as they shimmer and shift. Timelapse snaps can also be turned into mesmerizing videos like this one from Judith and Jonathan.
Dancing Northern Lights as captured through timelapse by Judith and Jonathan
Image credit: GegenWind.dk
Practice increases probability
While there’s always an element of luck with seeing and shooting the night sky, practice and repetition make it more likely to get a great photo. But don’t expect every picture or every night-shooting outing to be a winner — and don’t be discouraged by the learning curve.
Judith says, “You get disappointed a lot. There will be a lot of waiting. It’s very common to be out longer than anticipated. It takes time for the shutter to close and to change the settings. It’s easy to underestimate how many photos you want to take.”
David echoes that: “It is possible to take photos of the aurora that look like the pros. If you want that, it just gonna take more effort.”
To judge whether your skills will be up to the task when auroras appear, experiment with night time photography more generally. “If you can successfully take a light trail photo, you’re well equipped to photograph the Northern Lights,” says Jonathan.
Getting the shot is half the battle
“Don’t be afraid of editing,” says Judith. “Night photography rarely looks powerfully amazing just from taking a shot.” While professional photographers generally use pricey programs like Lightroom or Photoshop, tools like Photopea or Affinity (now owned by Canva) offer low- or no-cost ways to tweak images. You can even use your smartphone’s native functions to shift contrast, color balance, highlights, and more.
Photographs won’t necessarily capture the proper tones because of the white balance, and artificial light (like the glow of civilization) tends to make colors seem warmer than they are. “Colors are often different with night photography from what we see with our own eye,” says Jonathan.
Start by playing with contrast settings in your editing software to make photos look less flat. Shift the white balance to make the colors pop the way you remember seeing them. Experiment with shadows and highlights to increase depth. The aim of post-production editing is to bring the same vividness to the aurora as when they crackled in real life.
“If we think back to Ansel Adams, he was really known for what he did in the darkroom,” says David, noting that digital editing is the modern equivalent to darkroom photo developing. “There’s a lot of work on the second half.”
Yup, there’s a near universe of things to consider. And even professionals still learn new things. Keeping a few basics in mind will jumpstart your photographic skills — and get you closer to creating images as awe-striking as those from David, Judith, and Jonathan.
TL;DR
- Tech helps with predicting the skies
- Stabilize your device (ideally with a tripod)
- Incorporate foreground elements
- Learn your settings and experiment
- Never ever use flash
- Set a long exposure
- Don’t bother with video — try a timelapse
- Keep batteries (and yourself!) warm
- Post-production editing rekindles the magic
- Be patient — with the aurora, the equipment, and yourself
Massive thanks to David Wilder (explore and purchase his work at DavidWilder.ca) and Judith and Jonathan (see more from them at GegenWind.dk) for generously sharing their expertise.